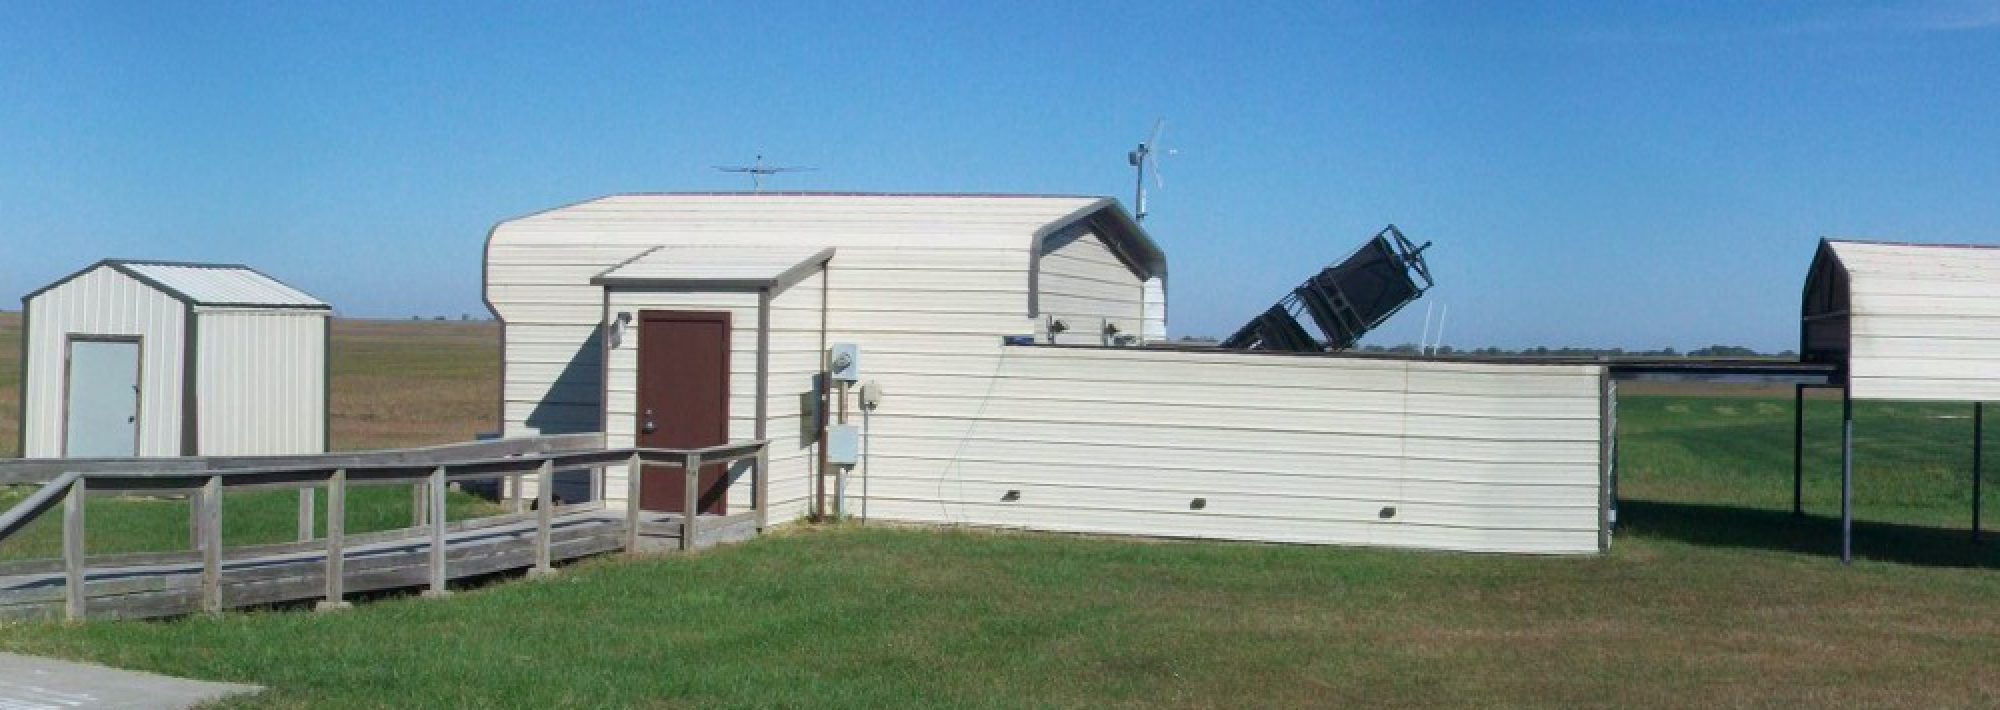
I went to Farpoint yesterday morning (3-30-11) and replaced one of the pulleys for the roof cable. Actually the other pulley will need to be replaced too. I’ll try and remember to do that but for now it’s working OK.
I also made and installed a holder for the end of the shaft on the cable reel. This will limit the radial movement and should help stabilize the roof roll-out system.
News– Well it has been awhile since I have written anything so thought I would share with you what I have been up to this winter here at Windy Hills Observatory. The weather this year was an improvement over last years cloudy winter weather so I have been able to image several targets, the Horsehead Nebula, M33 and M1. I just completed processing them and will share the images later in this post. I am still fine tuning the remote operation of my dome/scope and have made progress. I added a Optec TCF-S focuser and a Pyxis 3-inch rotator. This allows me to rotate the camera to place a good guide star on the guider chip, the rotator is controlled by software and can be placed at any angle. The focuser is controlled by CCDsoft camera control software which allows for auto-focusing. The dome follows the scope by using Dome Works Dome TraK. I presently use TheSky, CCD AutoPilot 4 and CCDsoft with PinPoint to control the whole setup. My goal is to automate the data capture of targets and to be able to image several targets in one night with out being at the scope.
Images – Below are several new images that I have taken this winter.
The Horsehead Nebula in Orion.
LX200R 12? @f6.9 ST10ME LRGB L 5@660 1×1 R 5@420 2×2 G 5@540 2×2 B 5@660 2×2 | Capture CCDAP4, Processed DL MaxIm, CCDSharp, PS CS5 and LR3
M33 The Triangulum Galaxy
M33 The Triangulum Galaxy LX200R 12″ @f6.9 ST10ME LRGB L 5@660 1×1 R 5@420 2×2 G 5@540 2×2 B 5@660 2×2 | Capture CCDAP4, Processed DL MaxIm, CCDSharp, PS CS5 and LR3
First Impressions – I purchased TheSky X Professional as an upgrade to TheSky 6 late last fall but had not integrated it into my work-flow until last week. I also purchased the add-on camera module and Tpoint module. I thought I would share my first impressions of the software. TheSky X has all the features and functions of TheSky 6, some of the names have been changed and the icons relocated but basically the program functions are the same. I did play with the software a lot before I put it on line in the dome. The switch was painless, I set the COM Port, selected the telescope type from a pick list and established a link with the LX200R with no problems. The new real time graphics are GREAT! The tool bars and windows are customizable you can add and delete tools, buttons and windows to fit how you operate. The windows and tool bars can be moved about and placed where you want them. The camera add-on is basic at this time with few camera setting available. Software Bisque has stated that they intent to increase the camera functions later. I would imagine that since Software Bisque owns CCDsoft many of CCDsofts functions will be added to TheSky x. If this happens this will be nice since you will be able to image from one software package. One thing that was easier in X to me anyway was setting the slew limits for my set up. I now feel comfortable that my scope will not go pasted the limits with out me telling it to do so. One of the reasons I upgraded was that I wanted to improve my telescope pointing. I looked into Tpoint. Tpoint is offered as a package that will work with TheSky 6 but with TheSky X it works in the program. If I purchased Tpoint for TheSky 6 I would have to purchase an upgrade for Tpoint TheSky X version later if I upgrade to X so I decided that I would just start with the X version. This was not a mistake as I have improved the LX200R from a 150 arcsec error to 27 arcsec. This was done with Tpoint in less than 45 min. Tpoint and TheSky X took 50 images and plate solved them, I then pushed the Super Model Button and was done. Before Tpoint I would slew to my target center a star and sync on the star. CCD AutoPilot would then use Pinpoint to try to center the target usually with in 50 arcsec. The best I would get was about 20 arcsec. I can now slew to any part of the sky and be with in 27 arcsec of the target center, CCDAP4 with PinPoint then corrects and moves the scope to with in 5 arcsec. The upgrade was worth it to me as the improved pointing of my Meade LX200R production mount has made my goal of automation easier. Clear skies and keep the scope pointed up.
Last night, NEKAAL member Gary Hug hosted a dozen Physics students from Seaman High School, presenting the 27-inch Tombaugh telescope and what it can do on a clear, moonless night.
The roof rolled off, telescope fired up, camera cooled, and sky darkened, it was time for Gary to start with some simpler images, including a very short exposure of the Orion Nebula. (The control room is under dim red lights.)
Member Eric Dose took some of the students outside to show the suburban students what a really dark night looks like. Zodiacal light rose from Jupiter on the west horizon up through the Pleiades to directly overhead. In fact, the zodiacal light (light from the below-horizon sun reflected by dust in the solar-system plane) rose to meet the Milky Way, which gave an excellent chance to describe the difference between the earth’s equator, the galactic equator and the ecliptic, which is essentially the solar-system’s equator.
Back inside, Gary and the students hunted extremely faint Near Earth Objects and captured two!–SEB912A (= 2000 EB14), also the NEO K11D09T which was discovered only 8 days ago. Along the way, Gary demonstrated the process of blinking, which is the rapid comparison of two images to discover what’s different between them. In sky exposures taken a few minutes apart, anything moving against a background of motionless stars is very likely to be an asteroid or some other solar-system object. Blinking is done with computer monitors rather than photographic plates and mirrors. But it still involves squinting and staring…and the occasional startling discovery.
A great combination of dark skies and bright students–NEKAAL Education and Outreach exists to get these together.