Russell Valentine – 3d printer uses in Astronomy – Recording of General Meeting October 28th 2021
Douglas Goodin -Archeoastronomy – NEKAAL General Meeting Recording 9-23-2021
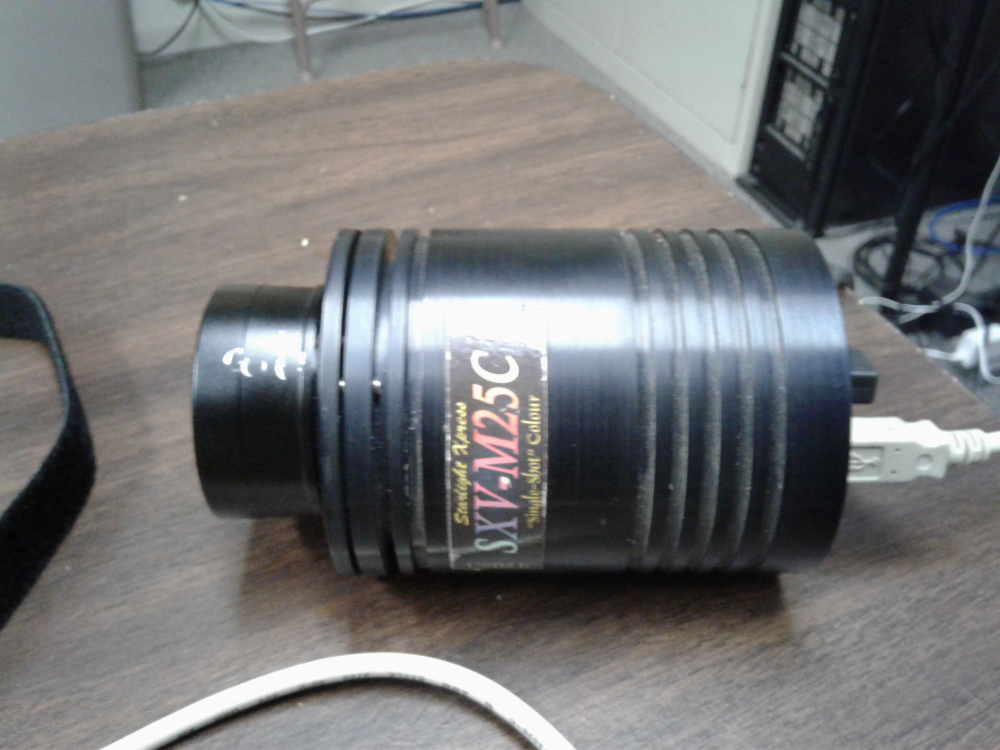
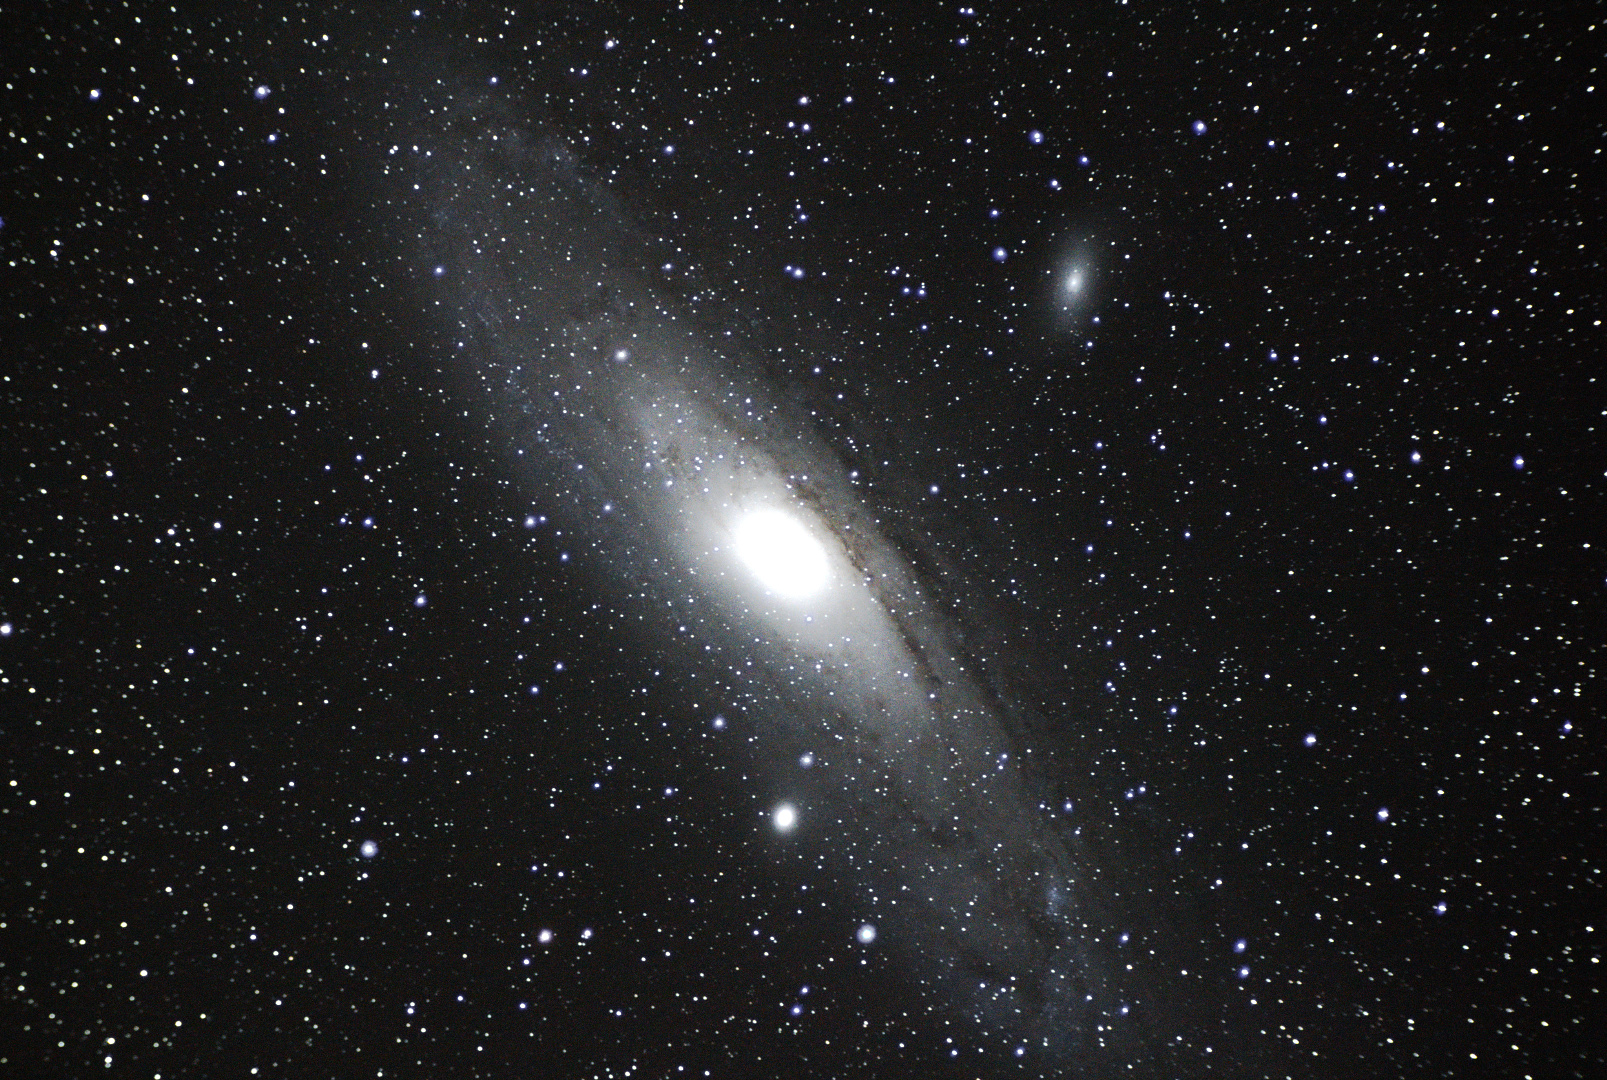
Rosette Taken with the Club’s Starlight Xpress SXV-M25C
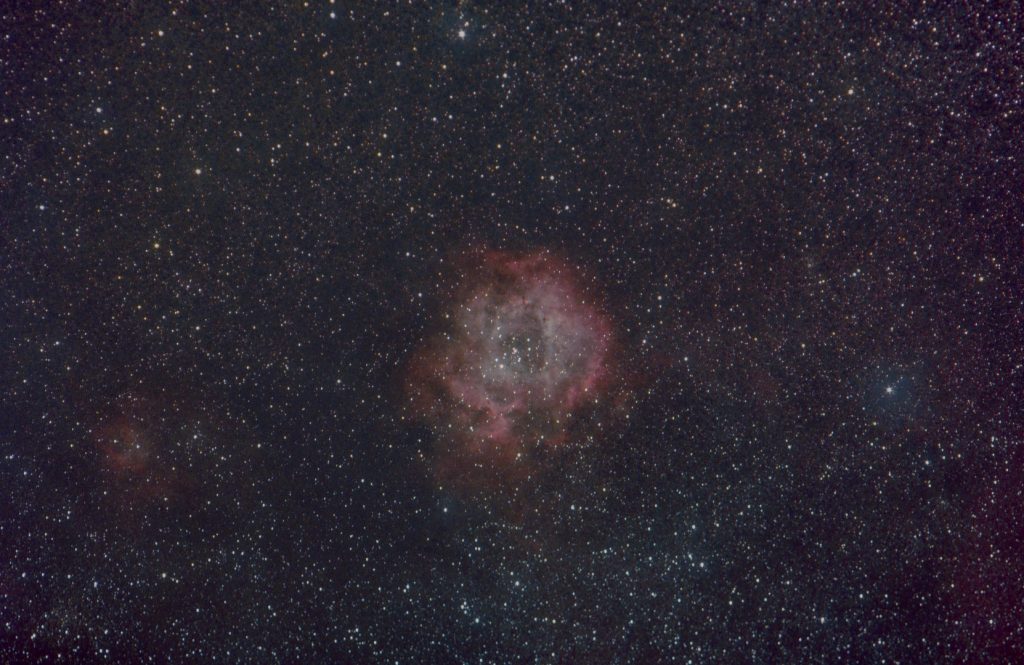
I recently had the opportunity to go out to Farpoint on 2-4-2021. I was excited to use the club’s Starlight Xpress SXV-M25C camera. The object I decided to image was the Rosette nebula. A nebula in Monoceros east of Orion. It is a HII region, a region with lots of hydrogen that gets ionized by nearby stars. This camera does not cut hydrogen alpha light as much as my Canon DSLR. Even though HII regions are not just hydrogen alpha light, I thought it could still be a good use of the camera.

I spent over an hour polar aligning my mount and focusing the camera with a 200mm lens with a UV/IR cut filter in front. I started guiding and exposing taking 35×240 second exposures for a total time of 2 hours and 18 minutes. I ended up packing up a bit early because of cloud cover, however I wish I waited 20 minutes before packing up because it was clear half way through putting everything away. A couple days alter I processed the image by combining the exposures to get the image you see at the top.
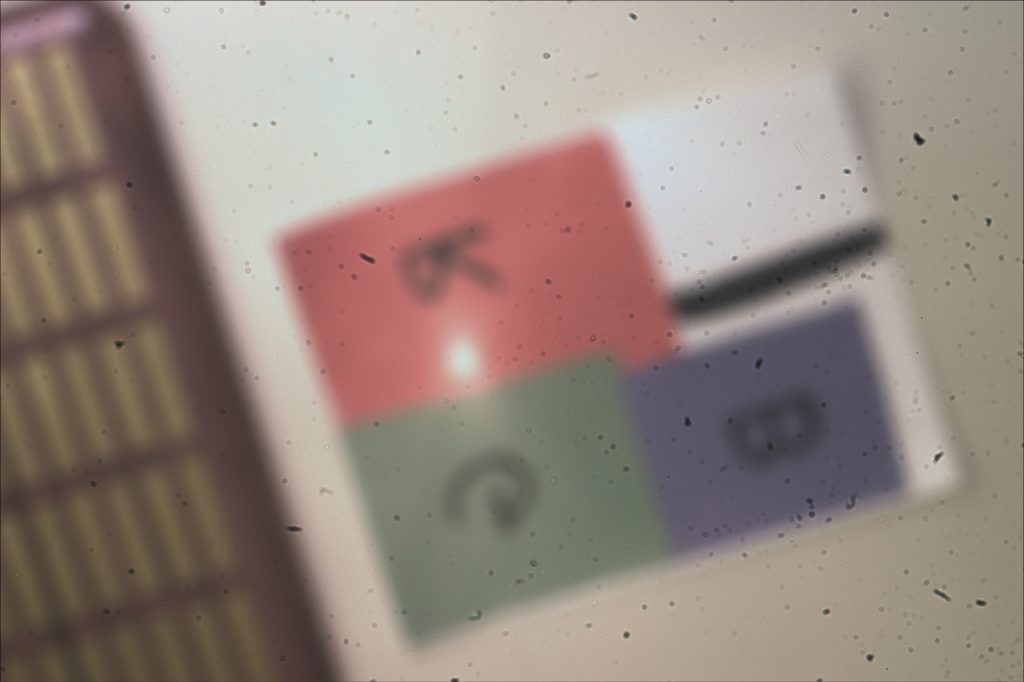
I’ve had quite the adventure with this camera. Originally I had an issue with it not working with INDI (my preferred software). I had to find the cause and summit a patch to the project (https://github.com/indilib/indi-3rdparty/pull/11). Also color was a issue, I ended up making a color sheet with construction paper to help me figure it out. I found out that for this camera model, INDI writes out the bayer matrix in a odd order. I wrote a script to reorder the bayer matrix so other processing tools could be used.
As for the hydrogen alpha, not sure if the image really benefits from the extra hydrogen alpha sensitivity, but this image is a lot better than previous attempts of the object, and I don’t think it hurt.
Any member of the club can use the camera at Farpoint Observatory. I hope this shows a little bit what it is capable of.
Equipment Used:
– StarSync Trackers SSTEQ-25 Forkmount
– Meade 8×50 finder used as guide scope
– QHY 5IIM camera for guide camera
– Starlight Xpress SXV-M25C for main imaging camera
– Asahi Pentax Super Takumar 200mm f/4 (set at f/5.6)
– 3d printed Bahtinov mask
Software Used:
– INDI
– KStars/Ekos
– PHD2
– Siril
– The Gimp
– StarNet++
– GGBR to RGGB script
Explore the universe from home
Looking for something else fun to do? Check out NASA’s online activities, e-books and podcasts. Spot the International Space Station in your sky and apply to be an astronaut.
Ian Morison and Astrophotography
I came into contact with Ian Morison when he asked about the StarSync tracker to be reviewed in his book The Art of Astrophotography. This week he has let me know that he had been posting articles on his Astronomy Digest (Website) at www.ianmorison.com.
It has a lot of great info about astrophotography. For example I particularly liked his 3 part article on “Everything about Refractors” (Part 1, Part 2, Part 3). It goes into good detail about what is good about refractors. What are Doublets, Triplets and what different glass mean in terms of seeing, focus, and chromatic aberration.
Something that is also of value. He gave a lecture at Gresham College about his book which is very informative and can be viewed online. It starts with him using just a plain tripod and camera to capture star trails to using astronomy CCD Cameras. I recommend watching it.
NEKAAL Observer Facebook and Twitter Integration
I’m making this post to test and announce automated Twitter and facebook announcements when a new NEKAAL Observer post is made. So if you follow NEKAAL on Facebook or twitter you should get notified of new posts.
Also if you would like to post a article to the NEKAAL Observer just let me know. Contact russell.valentine@nekaal.org
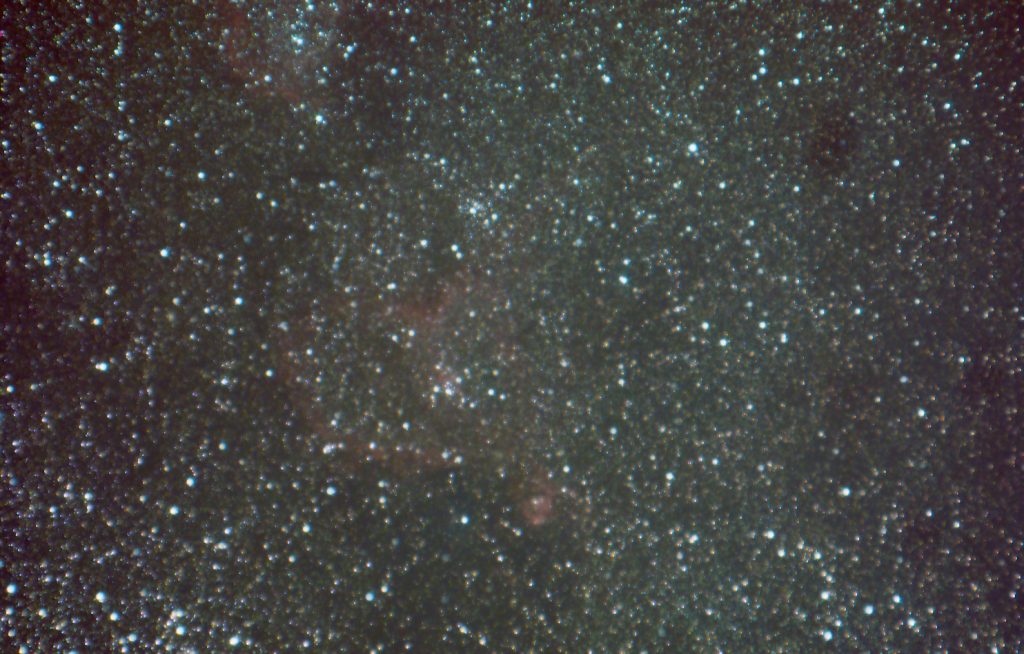
Experiements in astrophotography
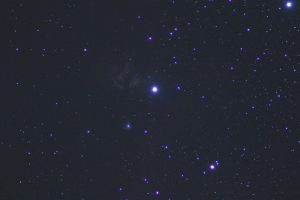
I still have a lot to learn, but thought it might interest others to know how I put together some photos that were taken October 15th this year (shown above). These were taken using a refractor and an SLR camera, mounted on a fork mount.
First I took a series of exposures in RAW format. Make sure it is in RAW otherwise you are throwing away a lot of information and will be limited in what you can do in post processing. I also removed the files that were obviously bad (because of wind, or some other issue). These were the exposure counts I used:
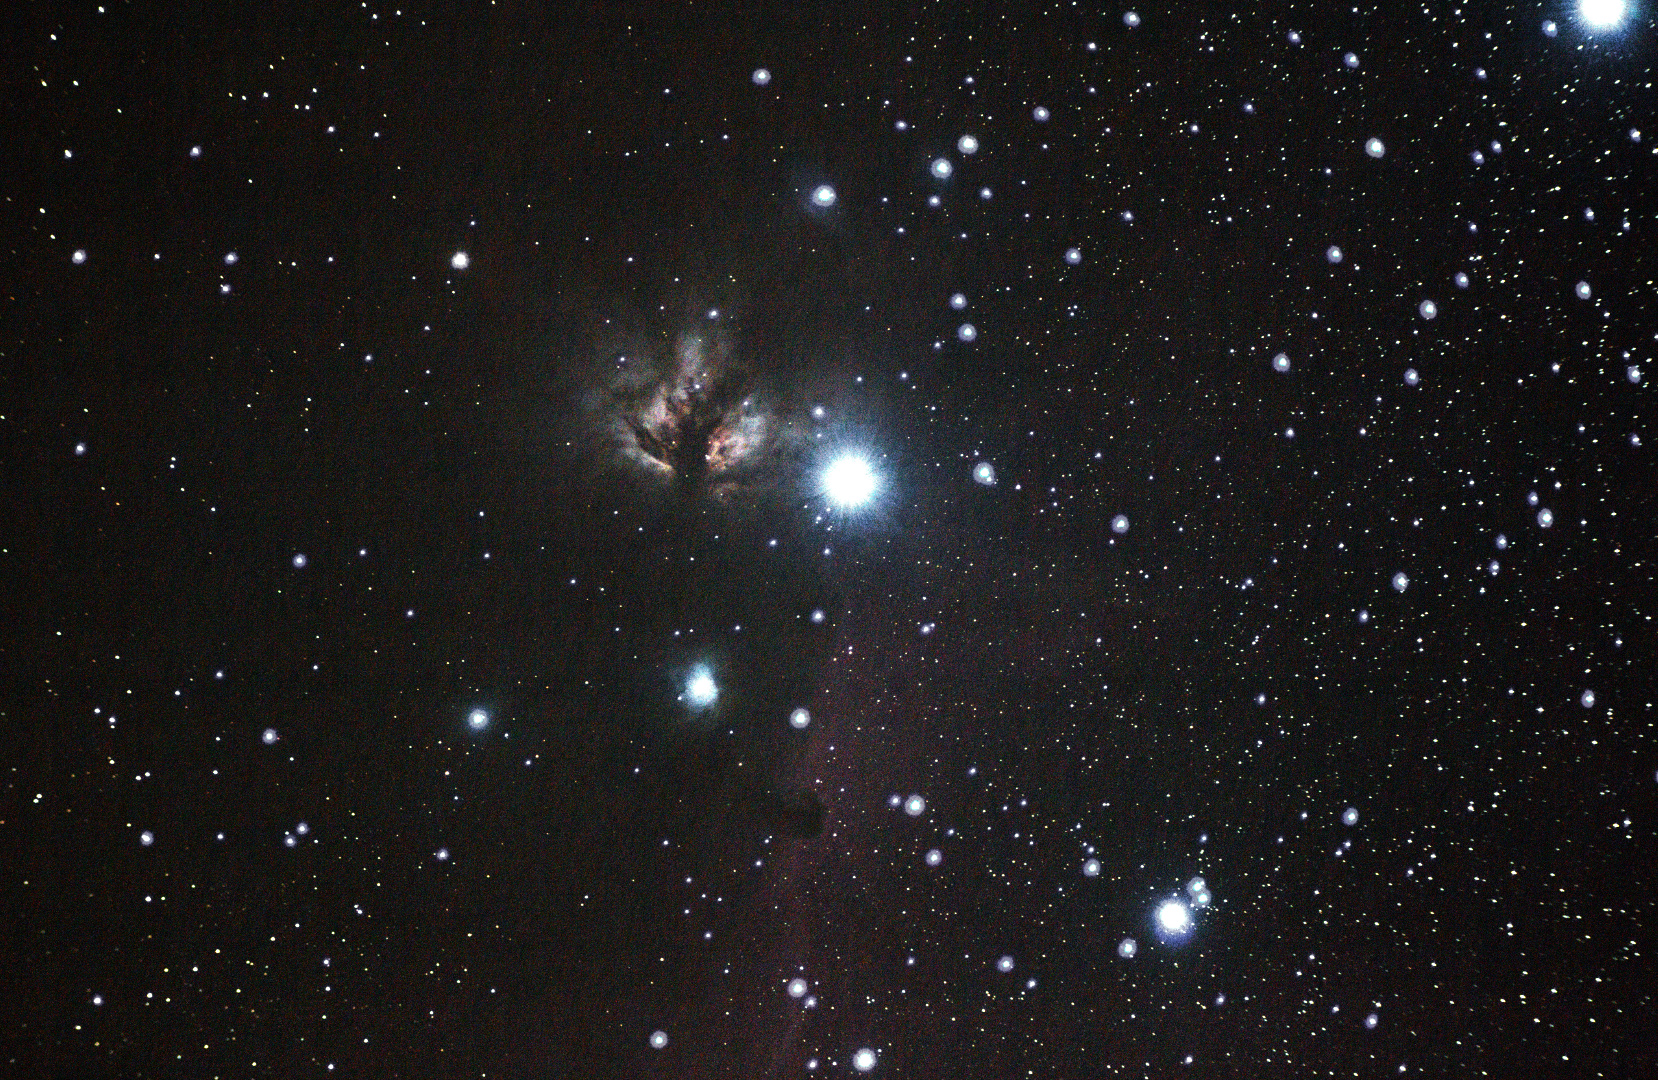
- The Flame Nebula/Horsehead – 26 x 20second exposures
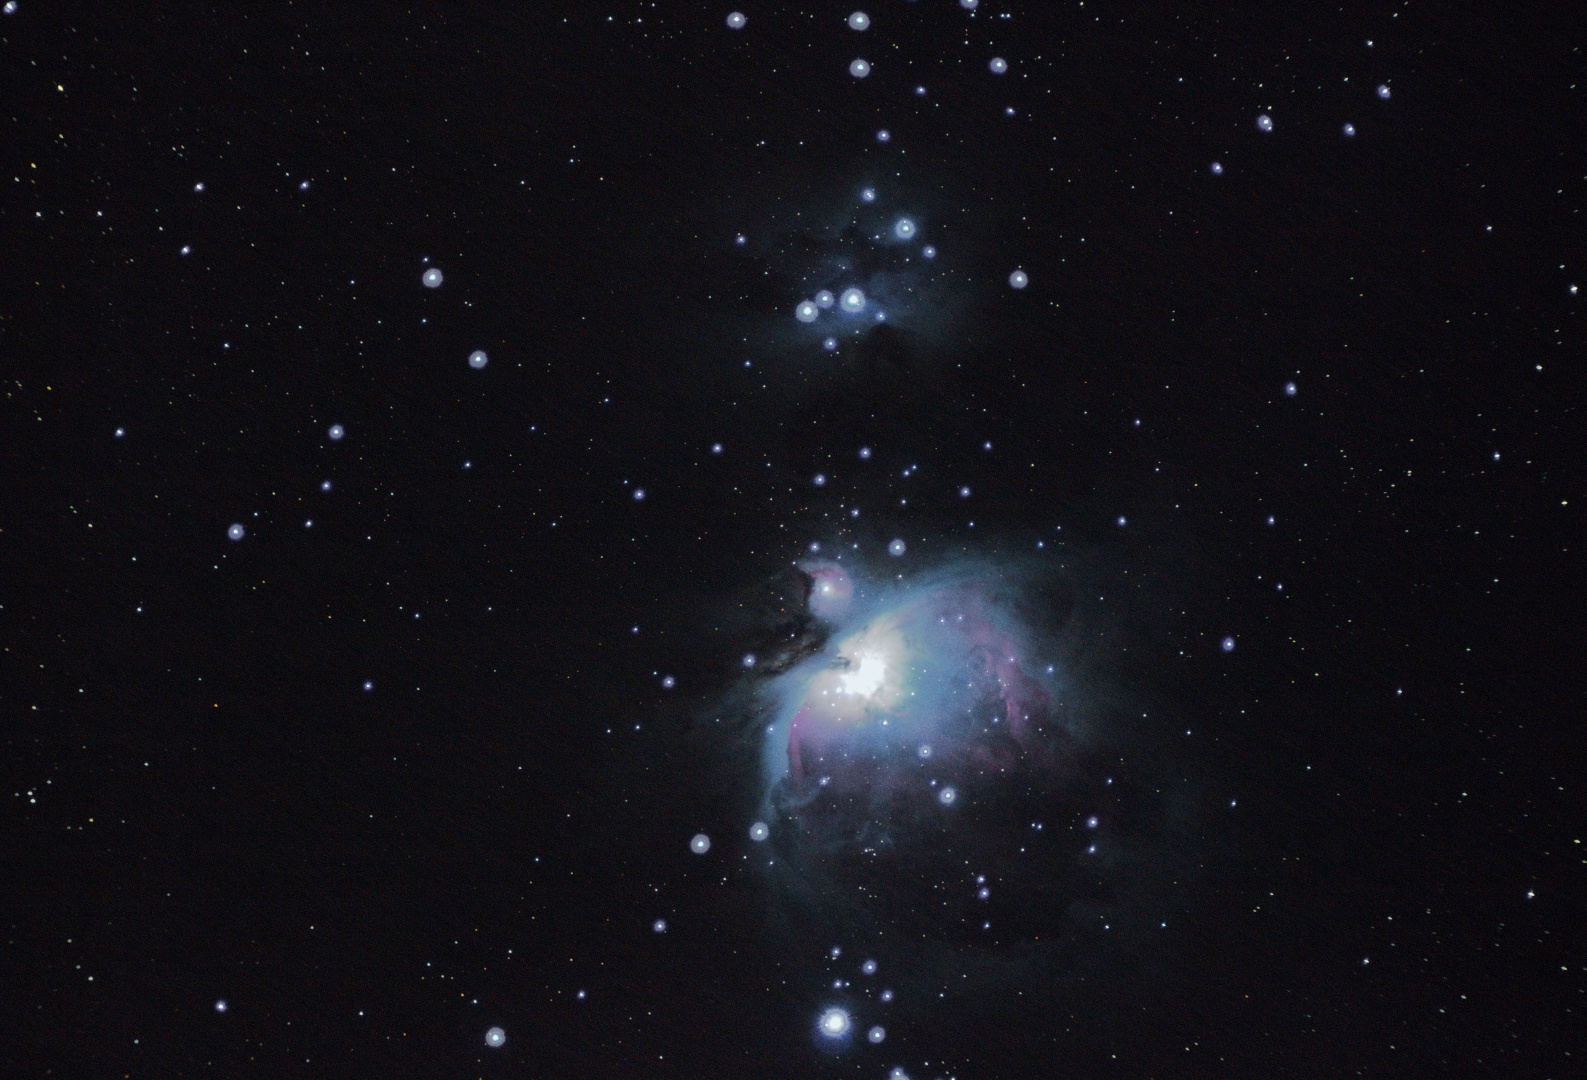
- The Great Orion Nebula – 18 x 15second exposures
- Andromeda Galaxy – 16 x 60second exposures
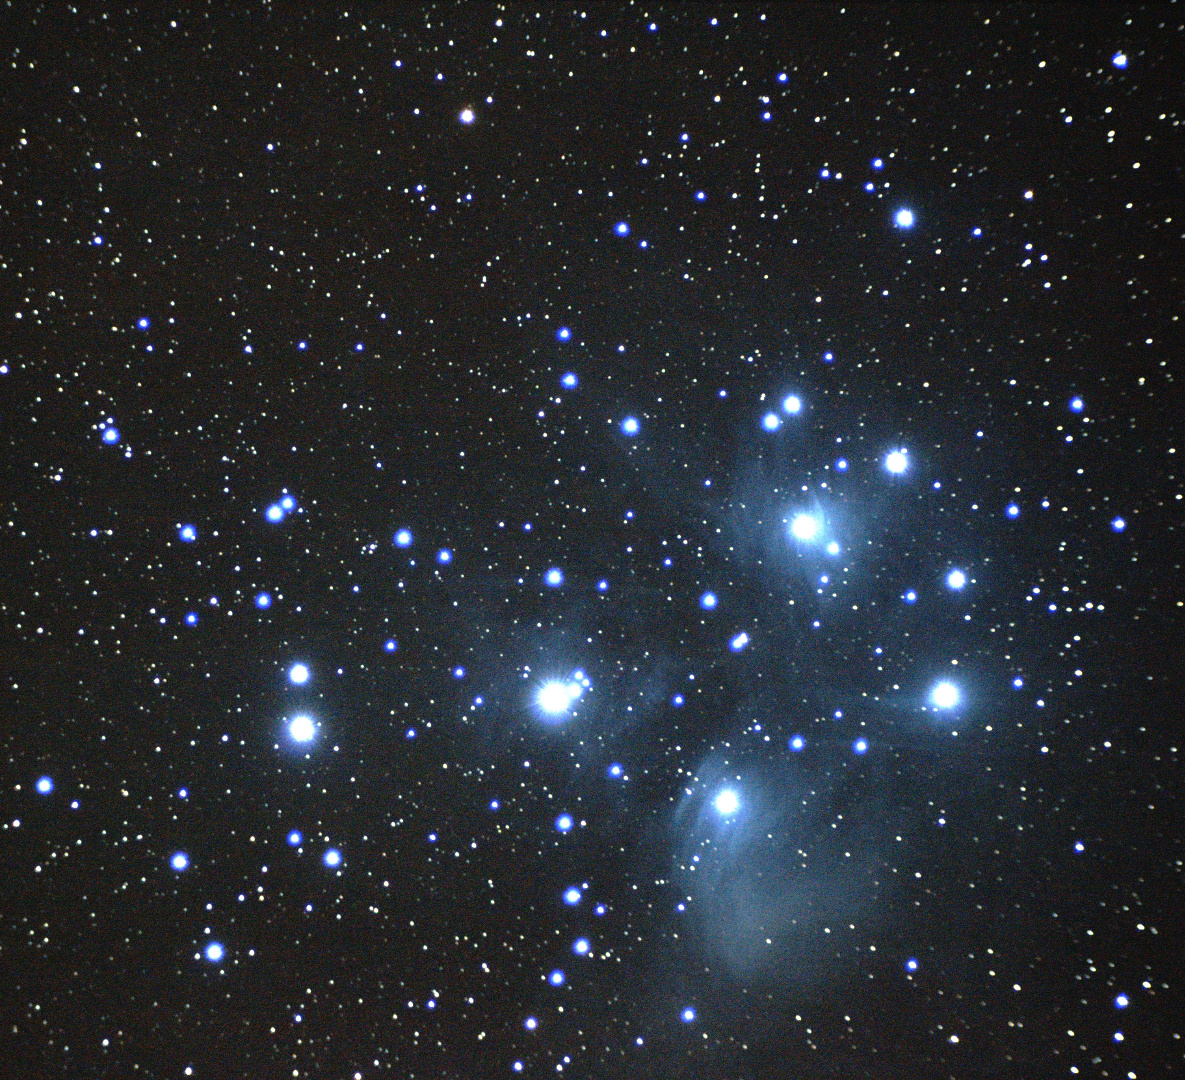
- Pleiades – 31 x 30second exposures
One exposure on its own doesn’t look so great. So we need to combine them.
Siril
To combine the images I used Siril. Siril is laid out so that each tab from left to right is the next step in processing your image.

First you do File conversion. I convert the raw image files from the SLR (CR2 files in my case) to the FIT’s file format Siril likes. I make sure to check “Demosaicing” as that is how the colors are extracted. The colors in the the raw file from the SLR are stored as a color mosaic after going through a Bayer filter. You can learn more about what that is here and here.
I add all the files I want to use for a particular image and I convert them all at once. It then puts them all in a sequence. I make sure to include all the images I converted in that Sequence. The next step is Registration.
Registration basically aligns all the images based on the stars in the image. If the center of a star is at a certain place in one image, I want it to be at that spot in all my images. In each exposure the object is shifted a little bit, and I need them to be aligned before stacking. You can select which image is your reference image in the Sequence tab before registration.
I then stack all those registered images into one image through the Stacking tab. Then I save it as a tif file (16 bit sample format) to be processed in Darktable.
If this is confusing, maybe a video will help (see below):
Darktable
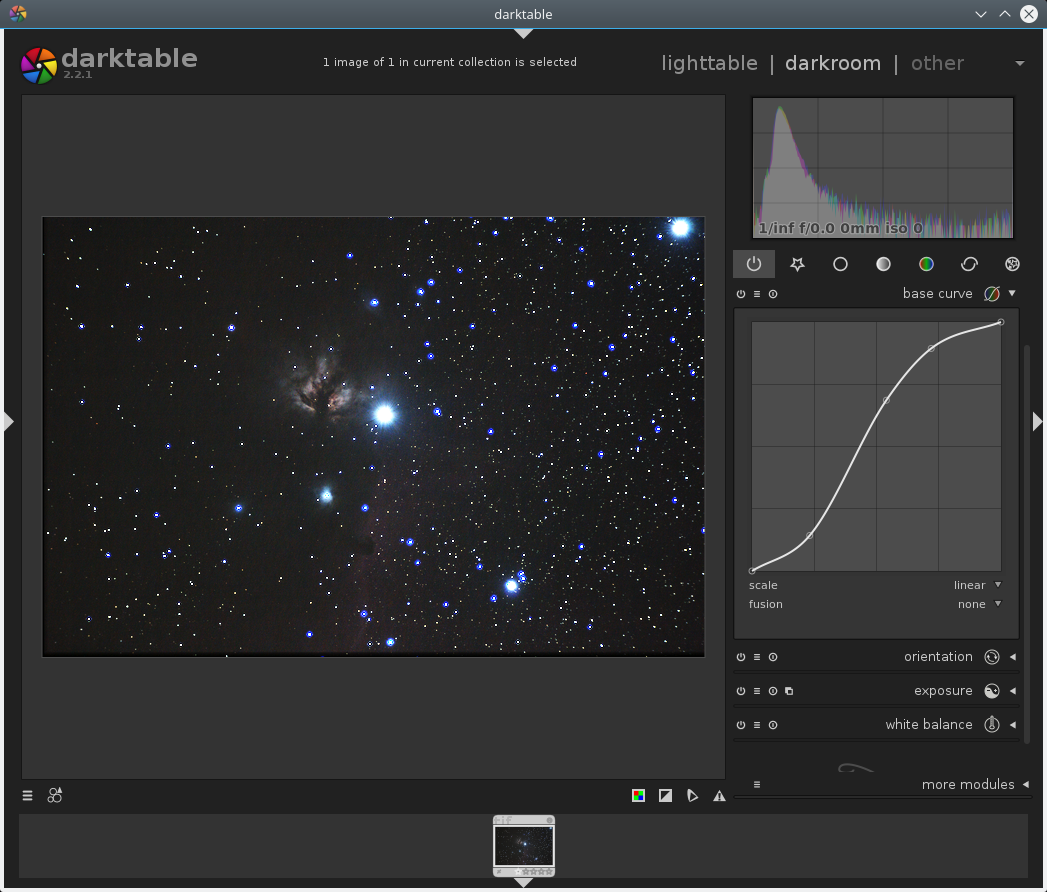
With Darktable, I mainly play around until I feel things look good. In most cases I use the following Darktable modules:
- White Balance – I make sure the background is black and the center of most stars are white. Mainly this can be done by making sure the large humps of the color channels in the graph shown in the top right have their peaks overlapping.
- Exposure – I modify this to try to bring out more detail. It is the background (black) and range (exposure) of the image.
- Base Curve – This is a more precise way to bring out details in a similar way to exposure. In the screen shot above you can see I made the curve looks like an S. I’m trying to brighten the dim details but also keep the bright details so it doesn’t look over-exposed. This is similar to what DDP (Digital-Developoment Process) does but without the edge emphasis part. In the future I will probably attempt to do true DDP.
Once it looked the best I could make it, I exported it to a jpg to then further process it in The Gimp.
The Gimp
Because the images were taken with a refractor with chromatic aberration, there are purple or blue (after white balance) rings around the stars. I attempted to correct this by using a “CCD Camera Fringe Removal” Gimp script. This is not a perfect solution and looks a little weird in some of the images (like Orion). It also plain doesn’t work on a object like Pleiades with a lot of blue in it. Gary mentioned to me that some people use IR and UV cut filters to bring it down. The camera already has an IR-cut filter, so I may try a UV cut filter in the future.
After that I cut and resized the image to my liking. The edges of the images were underexposed because not all images had data around the edges after registration. I also used the brightness and contrast tool as a final tweak.
I hope this article was useful if you are getting started in processing astrophotography images.
List of software used
Equipment Used
- CPU: Intel Core i7-4790 CPU @ 3.60GHz
RAM: 16 Gigabytes of RAM
HD: Files Saved to 7200 rpm SATA HDD
OS: Kubuntu 17.04 - 80mm f/6.25 refractor with 500mm focal length
- StarSync SAEQ-25 fork mount*
- Canon EOS Rebel T3i (600D) SLR Camera at prime focus* Disclaimer: Russell Valentine, the author, has a financial interest in StarSync Trackers LLC.
NEKAAL Back up as a Amazon Smile Charity
Graham Bell originally registered NEKAAL up as a Amazon smile charity. For one reason or another it had gone away. Janelle has set it back up. So if you wish you can set your charity to NEKAAL at smile.amazon.com and 0.5% of eligible purchases made by you through smile will be sent to NEKAAL with no extra cost to you.
The easiest way to find it, is to search for “Northeast Kansas Amateur Astronomers League Inc” in the charity search box.

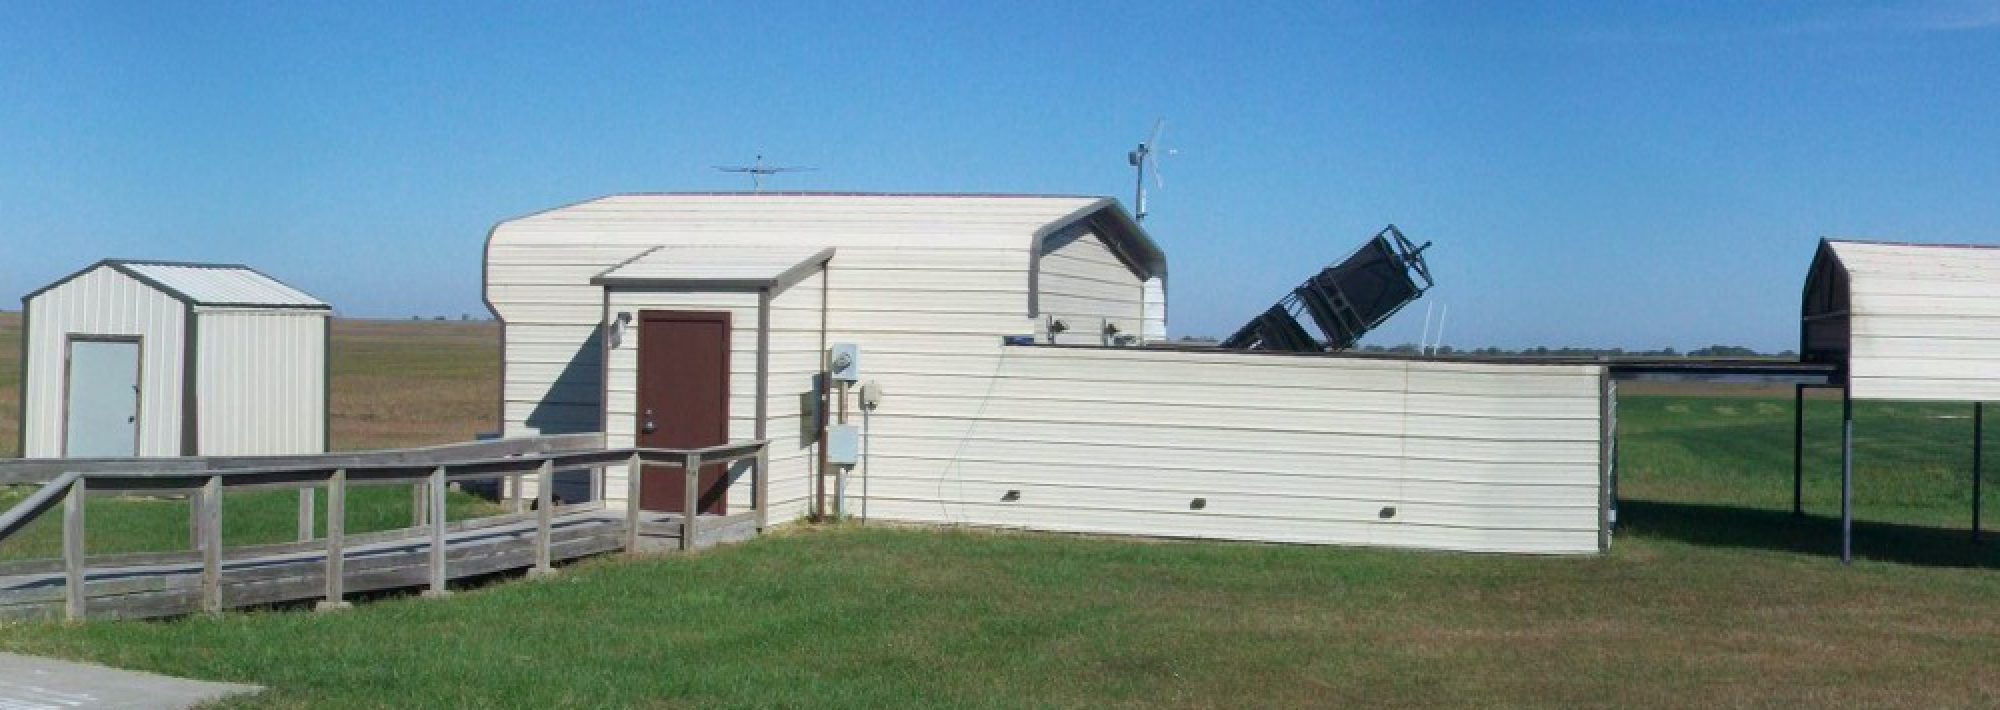
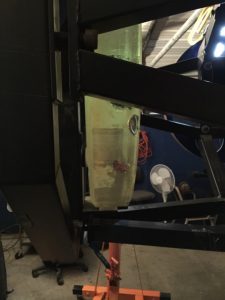
Workdays: Re-coated Tombaugh Mirror
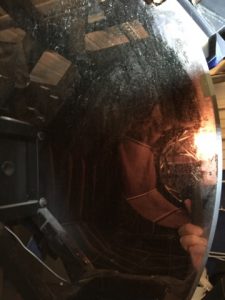
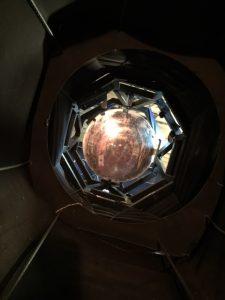
On March 11th, Gary Hug, B. W. Whitten, Justin Prochaska, David Cromer, and Russell Valentine worked together to remove the 27 inch mirror from the Tombaugh. Then Gary took it to get re-coated. It needed to be re-coating so much, that if you shined a light through back, you can see the light through the mirror.

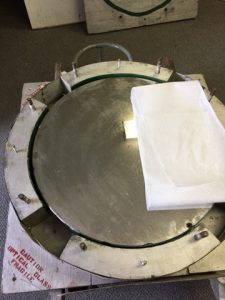
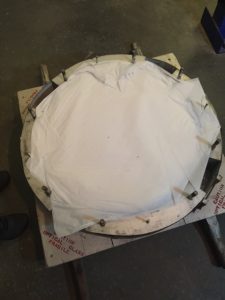
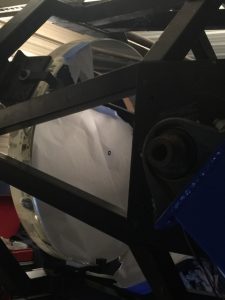
On March 25th, Gary Hug, Bruce Caler, Justin Prochaska, David Cromer, and Russell Valentine worked to put the re-coated mirror back in the Tombaugh.
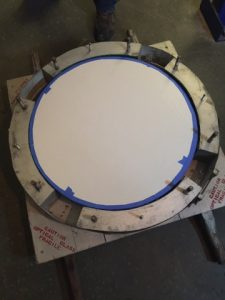
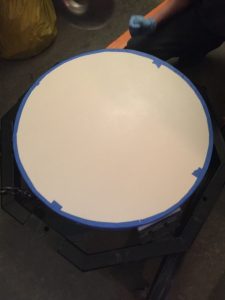
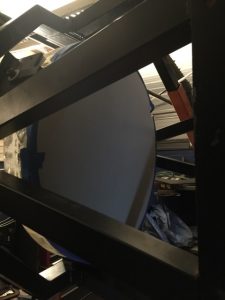
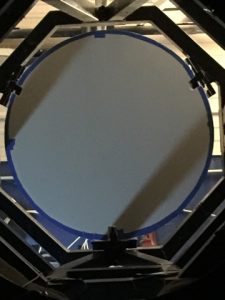
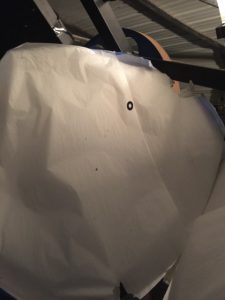
As an added benefit to the re-coating we now have a center point on the mirror to help aid in collimation.
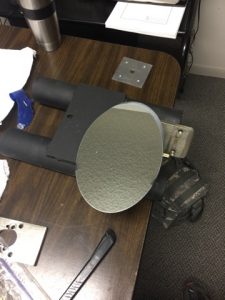
To re-coat the secondary it had to be removed from it’s holder. The last picture is the secondary being glued back into the holder. After the secondary is done being glued, the scope can be collimated and used again.
Pictures courtesy of Justin Prochaska.