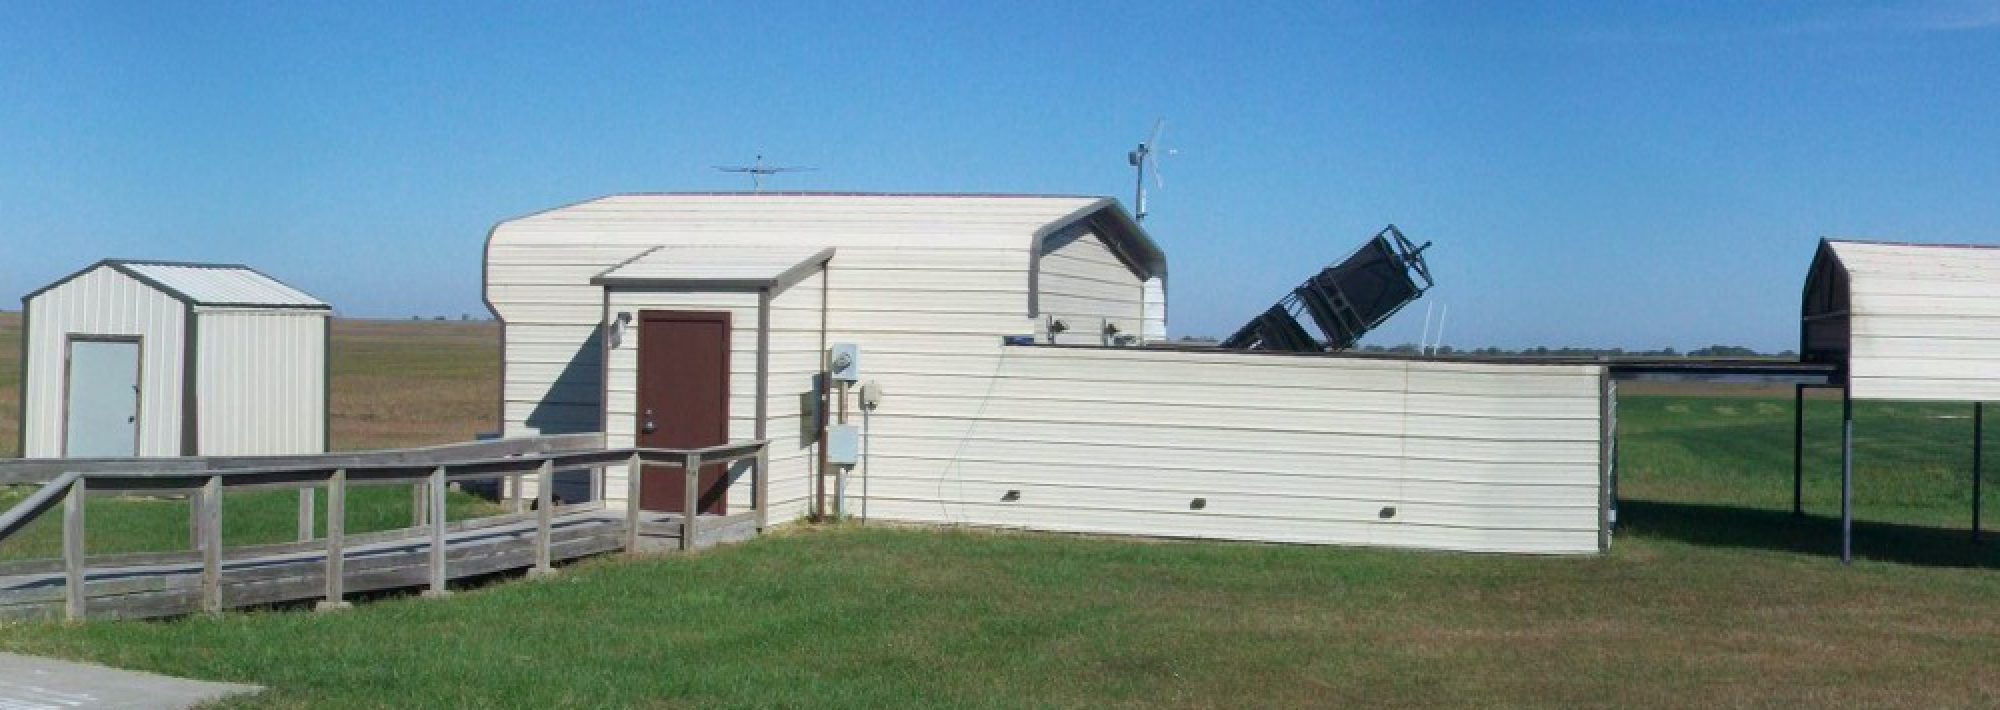
I still have a lot to learn, but thought it might interest others to know how I put together some photos that were taken October 15th this year (shown above). These were taken using a refractor and an SLR camera, mounted on a fork mount.
First I took a series of exposures in RAW format. Make sure it is in RAW otherwise you are throwing away a lot of information and will be limited in what you can do in post processing. I also removed the files that were obviously bad (because of wind, or some other issue). These were the exposure counts I used:
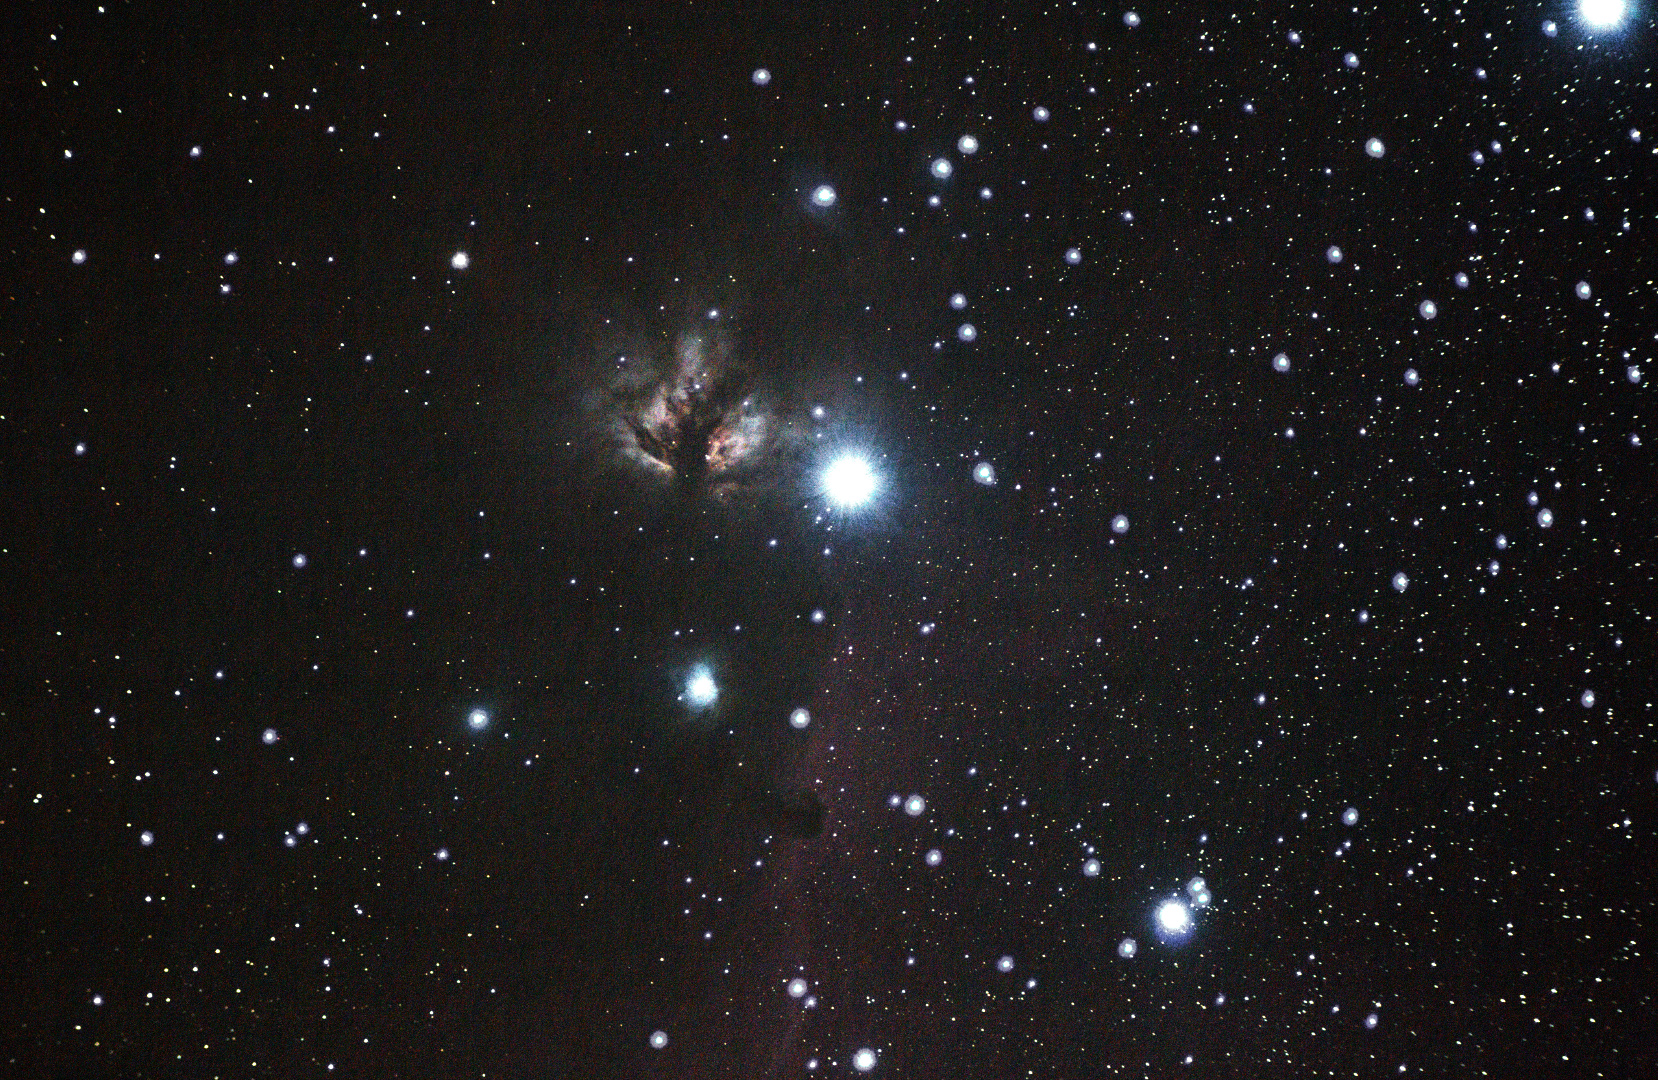
- The Flame Nebula/Horsehead – 26 x 20second exposures
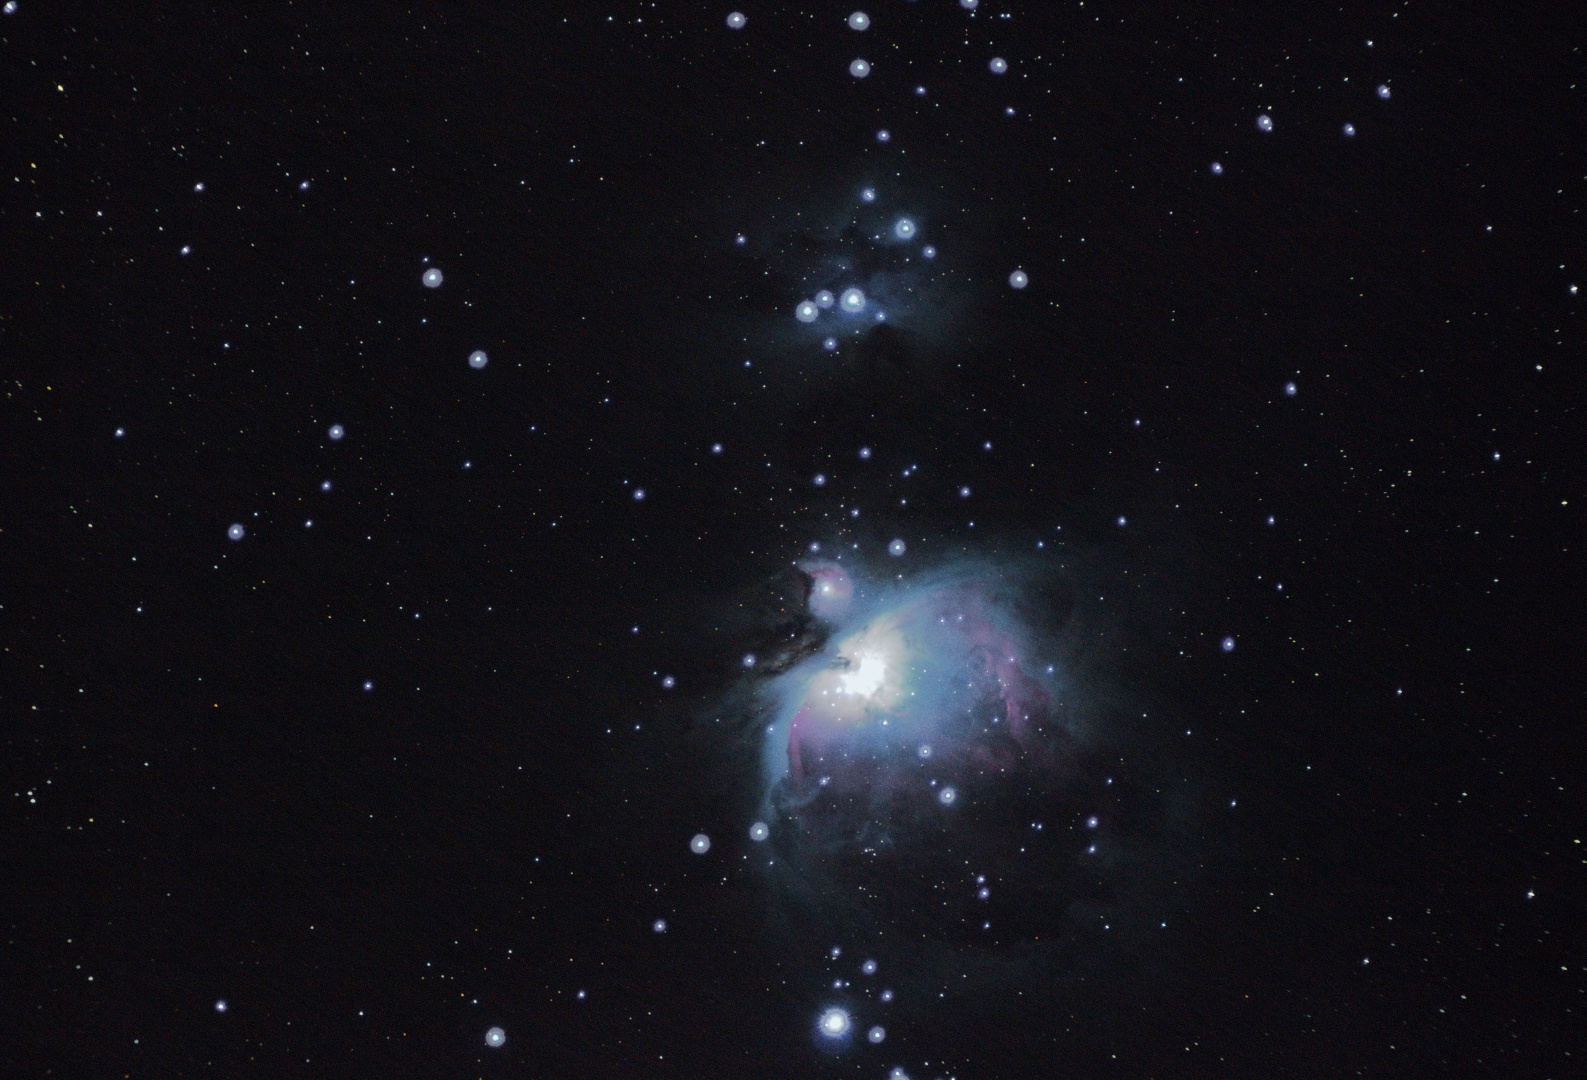
- The Great Orion Nebula – 18 x 15second exposures
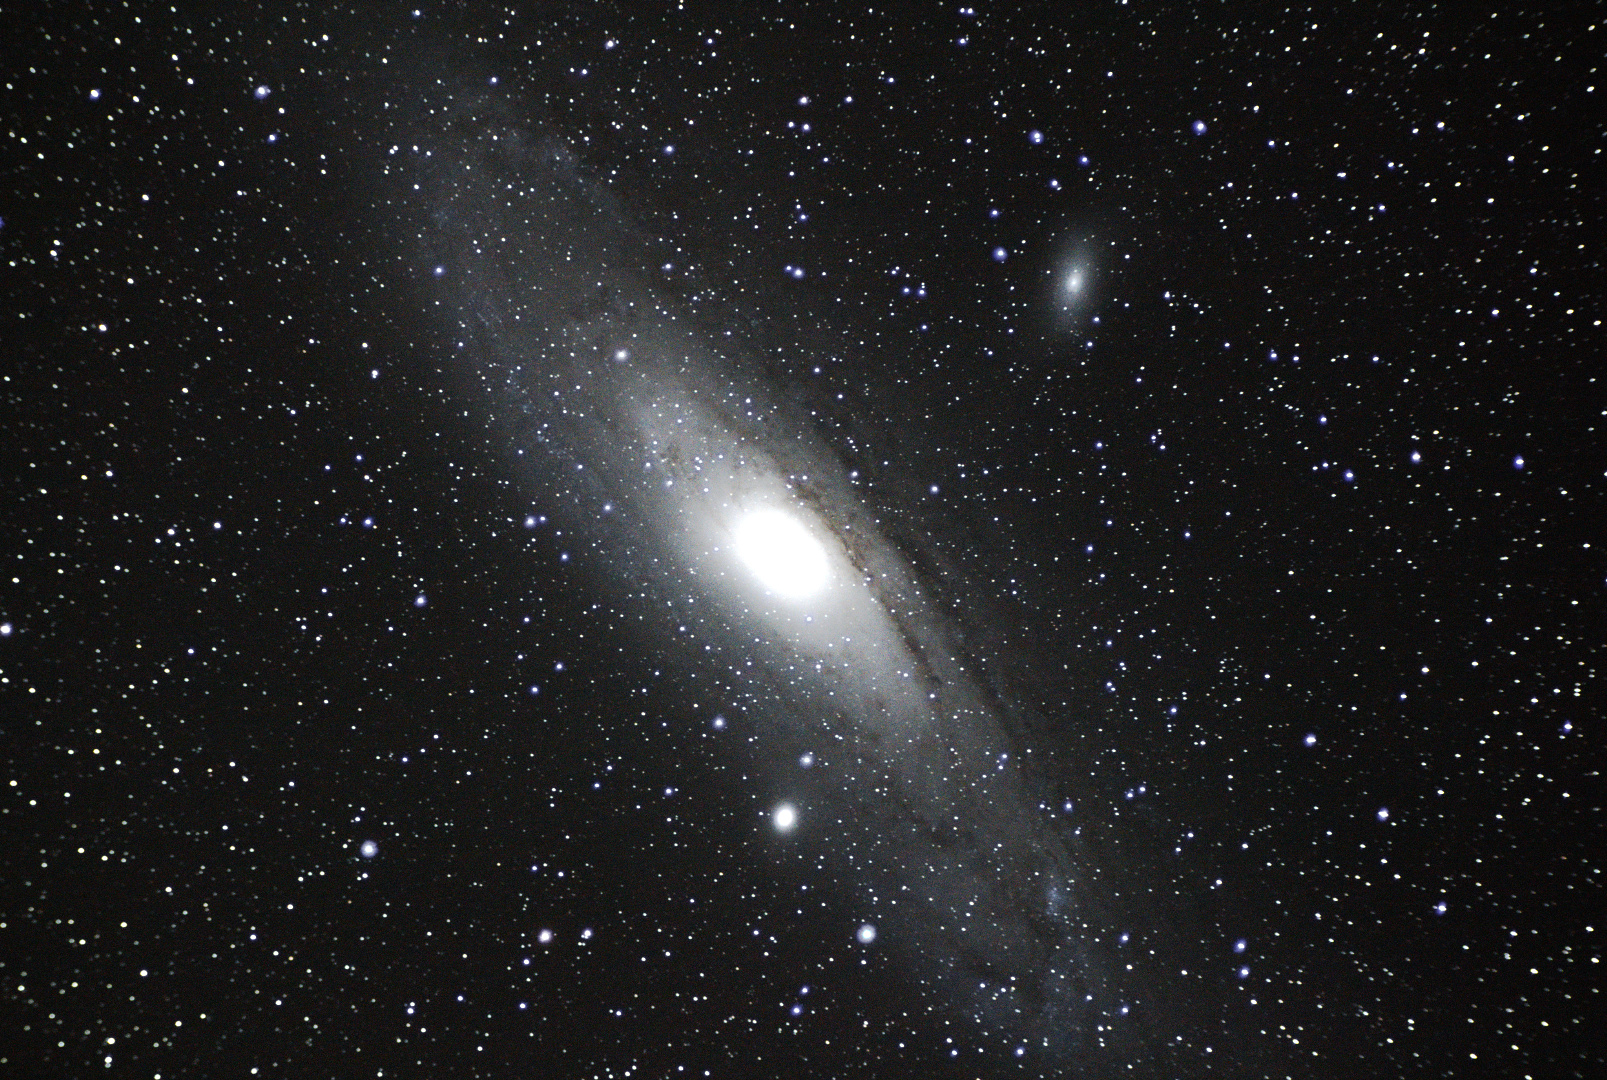
- Andromeda Galaxy – 16 x 60second exposures
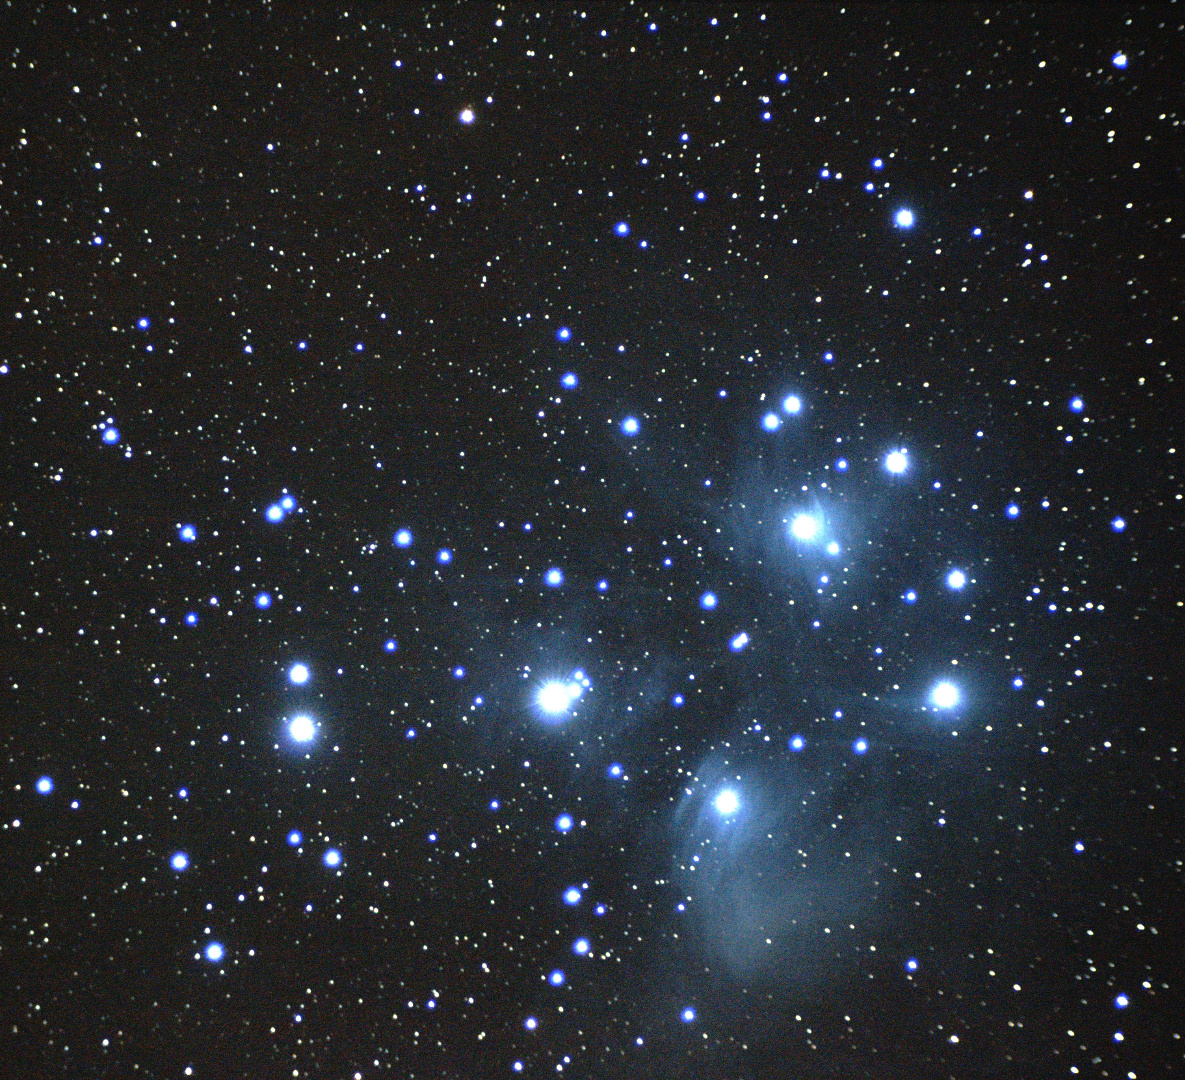
- Pleiades – 31 x 30second exposures
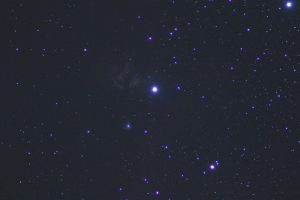
One exposure on its own doesn’t look so great. So we need to combine them.
Siril
To combine the images I used Siril. Siril is laid out so that each tab from left to right is the next step in processing your image.

First you do File conversion. I convert the raw image files from the SLR (CR2 files in my case) to the FIT’s file format Siril likes. I make sure to check “Demosaicing” as that is how the colors are extracted. The colors in the the raw file from the SLR are stored as a color mosaic after going through a Bayer filter. You can learn more about what that is here and here.
I add all the files I want to use for a particular image and I convert them all at once. It then puts them all in a sequence. I make sure to include all the images I converted in that Sequence. The next step is Registration.
Registration basically aligns all the images based on the stars in the image. If the center of a star is at a certain place in one image, I want it to be at that spot in all my images. In each exposure the object is shifted a little bit, and I need them to be aligned before stacking. You can select which image is your reference image in the Sequence tab before registration.
I then stack all those registered images into one image through the Stacking tab. Then I save it as a tif file (16 bit sample format) to be processed in Darktable.
If this is confusing, maybe a video will help (see below):
Darktable
With Darktable, I mainly play around until I feel things look good. In most cases I use the following Darktable modules:
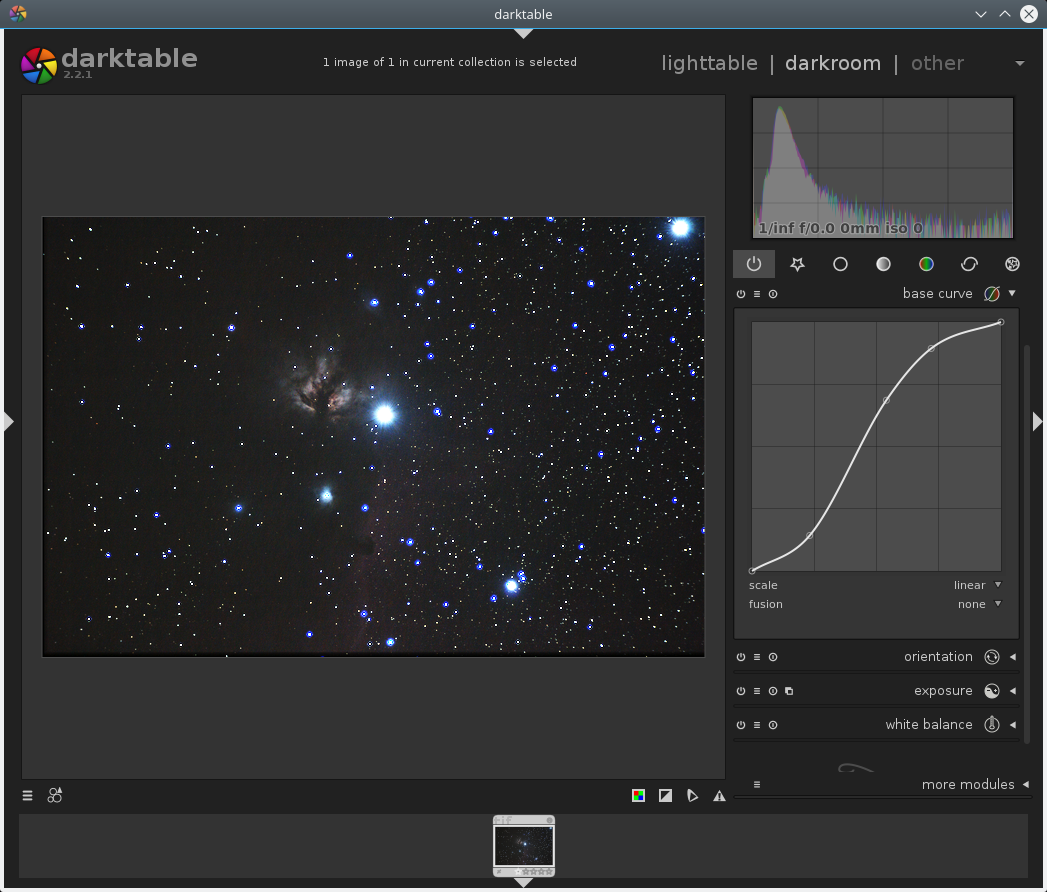
- White Balance – I make sure the background is black and the center of most stars are white. Mainly this can be done by making sure the large humps of the color channels in the graph shown in the top right have their peaks overlapping.
- Exposure – I modify this to try to bring out more detail. It is the background (black) and range (exposure) of the image.
- Base Curve – This is a more precise way to bring out details in a similar way to exposure. In the screen shot above you can see I made the curve looks like an S. I’m trying to brighten the dim details but also keep the bright details so it doesn’t look over-exposed. This is similar to what DDP (Digital-Developoment Process) does but without the edge emphasis part. In the future I will probably attempt to do true DDP.
Once it looked the best I could make it, I exported it to a jpg to then further process it in The Gimp.
The Gimp
Because the images were taken with a refractor with chromatic aberration, there are purple or blue (after white balance) rings around the stars. I attempted to correct this by using a “CCD Camera Fringe Removal” Gimp script. This is not a perfect solution and looks a little weird in some of the images (like Orion). It also plain doesn’t work on a object like Pleiades with a lot of blue in it. Gary mentioned to me that some people use IR and UV cut filters to bring it down. The camera already has an IR-cut filter, so I may try a UV cut filter in the future.
After that I cut and resized the image to my liking. The edges of the images were underexposed because not all images had data around the edges after registration. I also used the brightness and contrast tool as a final tweak.
I hope this article was useful if you are getting started in processing astrophotography images.
List of software used
Equipment Used
- CPU: Intel Core i7-4790 CPU @ 3.60GHz
RAM: 16 Gigabytes of RAM
HD: Files Saved to 7200 rpm SATA HDD
OS: Kubuntu 17.04 - 80mm f/6.25 refractor with 500mm focal length
- StarSync SAEQ-25 fork mount*
- Canon EOS Rebel T3i (600D) SLR Camera at prime focus* Disclaimer: Russell Valentine, the author, has a financial interest in StarSync Trackers LLC.